在 Blender 中使用 Stable Diffusion Render 圖片
在 Stable Diffusion 中生成圖片的速度有時候比 Blender 3D render 圖片更快,那麼可以用 Stable Diffusion 當成 renderer 使用嗎?答案是可以的。

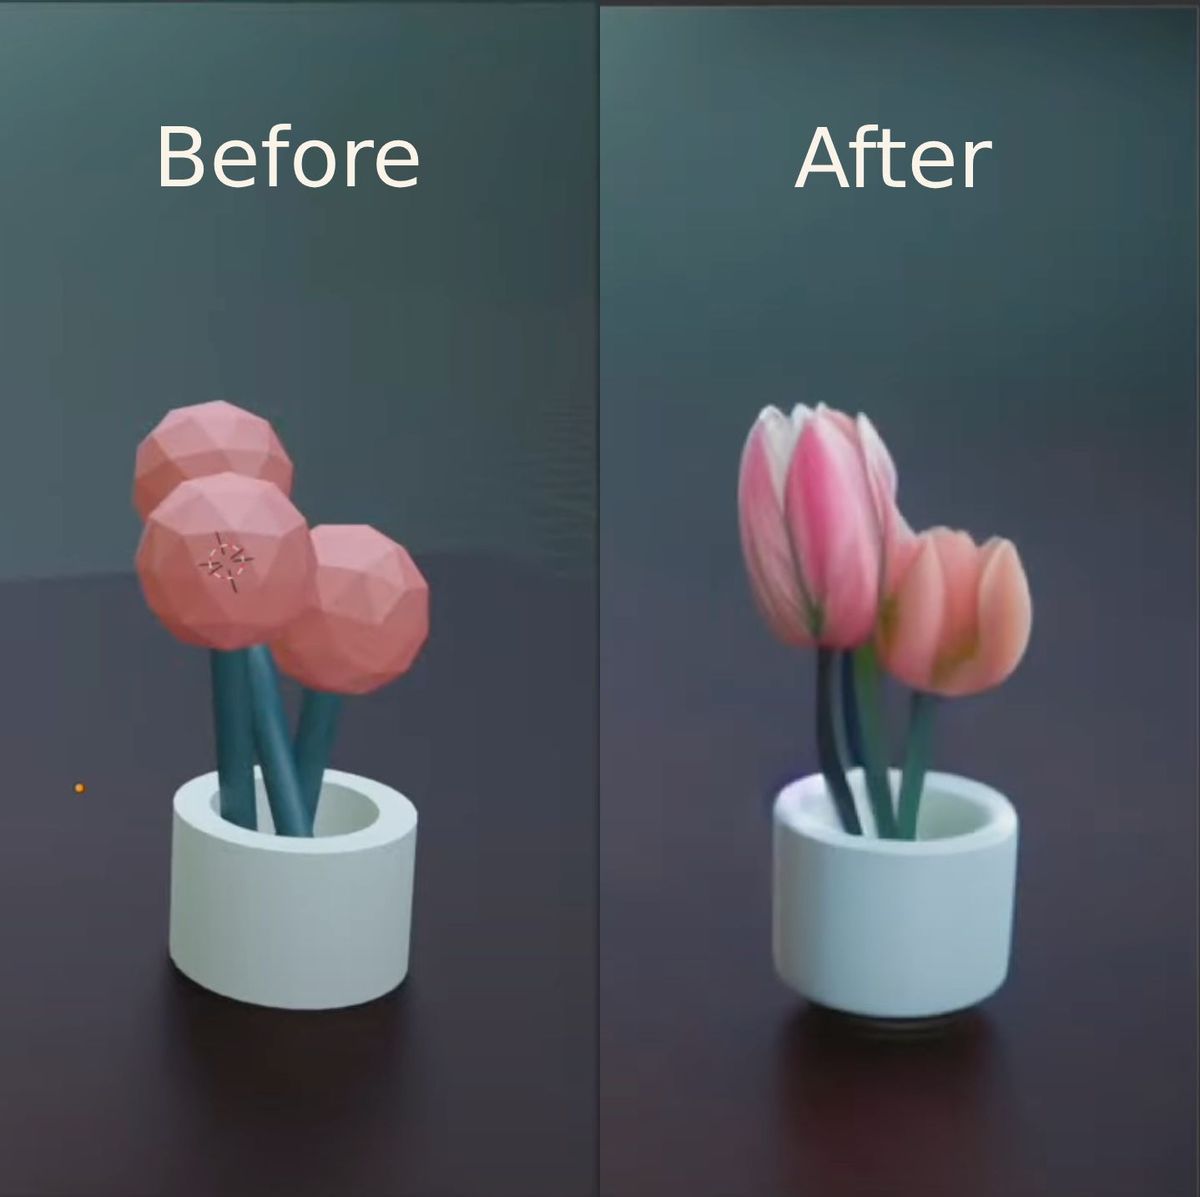
在 Stable Diffusion 中生成圖片的速度有時候比 Blender 3D render 圖片更快,那麼可以用 Stable Diffusion 當成 renderer 使用嗎?答案是可以的,Stability AI 推出了 Blender 的插件,配合 DreamStudio API 使用就可以在 Blender 以 3D 場景為基礎生成圖片,但這個官方插件一定要使用 DreamStudio API,令靈活性有所不足。
 Stability AI
既然不建議使用官方插件,想必有更好的選擇!沒錯,以下我會介紹另一個非官方的 Blender 插件,此插件除了支援 DreamStudio API 外,也支援 Automatic1111 StableDiffusionWebUI 輸出的 API,即是說可以完全在本地完成 Blender 的 AI 圖片生成動作。
如果還沒安裝 Stable Diffusion 可以先看此 post:
 Edmond Yip
AI Render
安裝
名副其實就是用 AI 來 render 圖片,大家可以在 Blender Market 上下載。
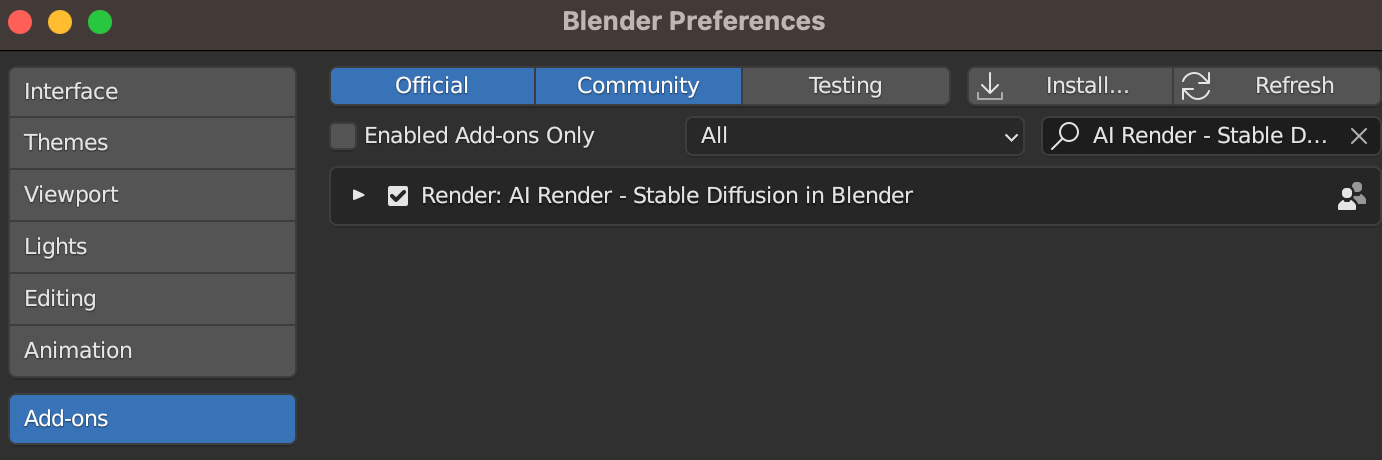
註冊/登入後下載 AI Render 的 .zip 檔案,不用解壓。在 Blender Preferences > Add-ons 中 Install 選擇 AI Render 的 .zip 檔進行安裝,完成後點選 Render: AI Render - Stable Diffusion in Blender。
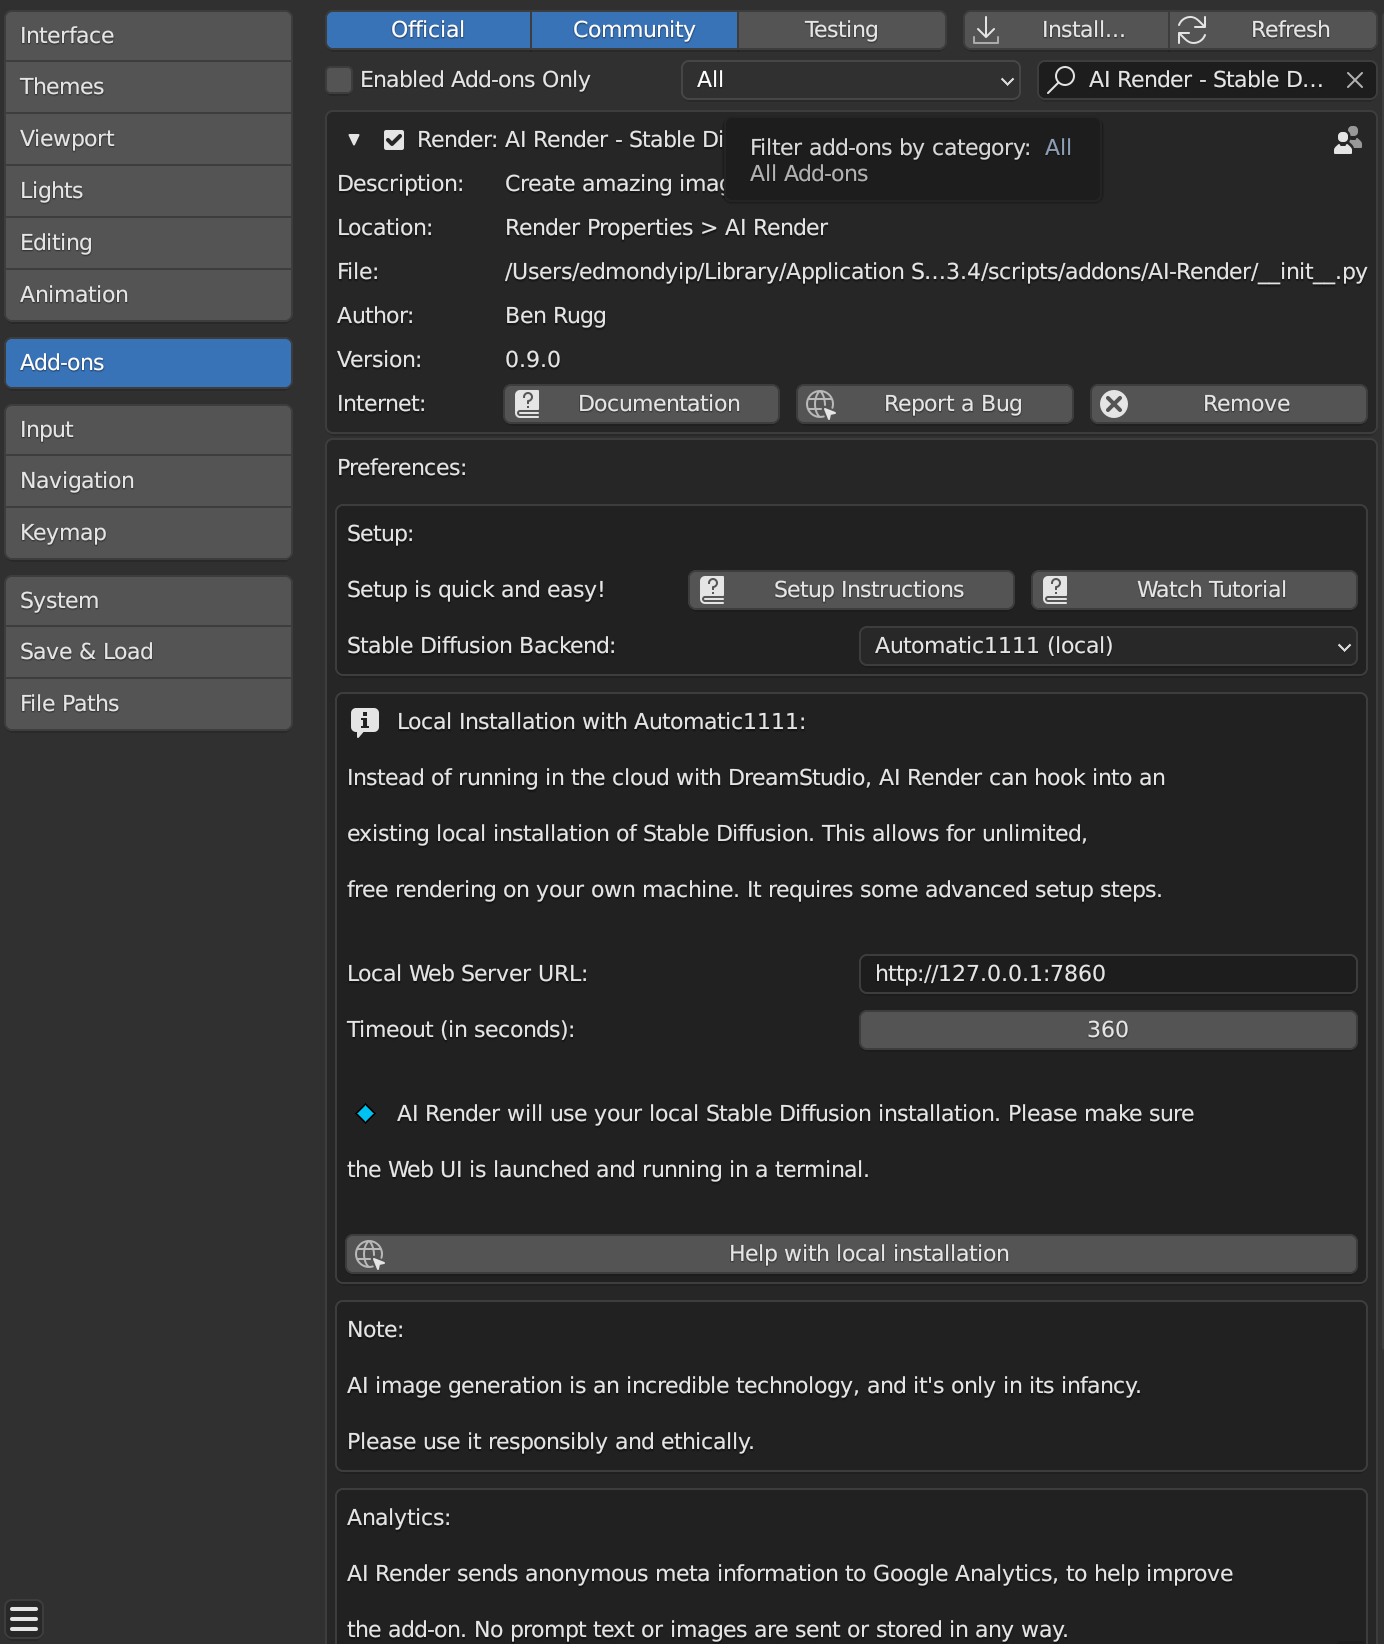
按左上角的小箭咀打開設定,由於今次教學會使用 Automatic1111 的 StableDiffusionWebUI 的 API,所以在 Setup: Stable Diffusion Backend 中選擇 Automatic1111 (local),其他設定也可以不改直接使用。
設定 StableDiffusionWebUI API
- Windows 用戶
- 打開
webui-user.bat - 將
set COMMANDLINE_ARGS=改成set COMMANDLINE_ARGS=--api - 然後重新開啟 StableDiffusionWebUI
- MacOS/Linux 用戶
- 打開
webui-user.sh - 將
#export COMMANDLINE_ARGS=""改成export COMMANDLINE_ARGS="--api" - 然後重新開啟 StableDiffusionWebUI
確定你 Blender 中的 Local Web Server URL = 你 StableDiffusionWebUI 的位置。
怎樣使用?
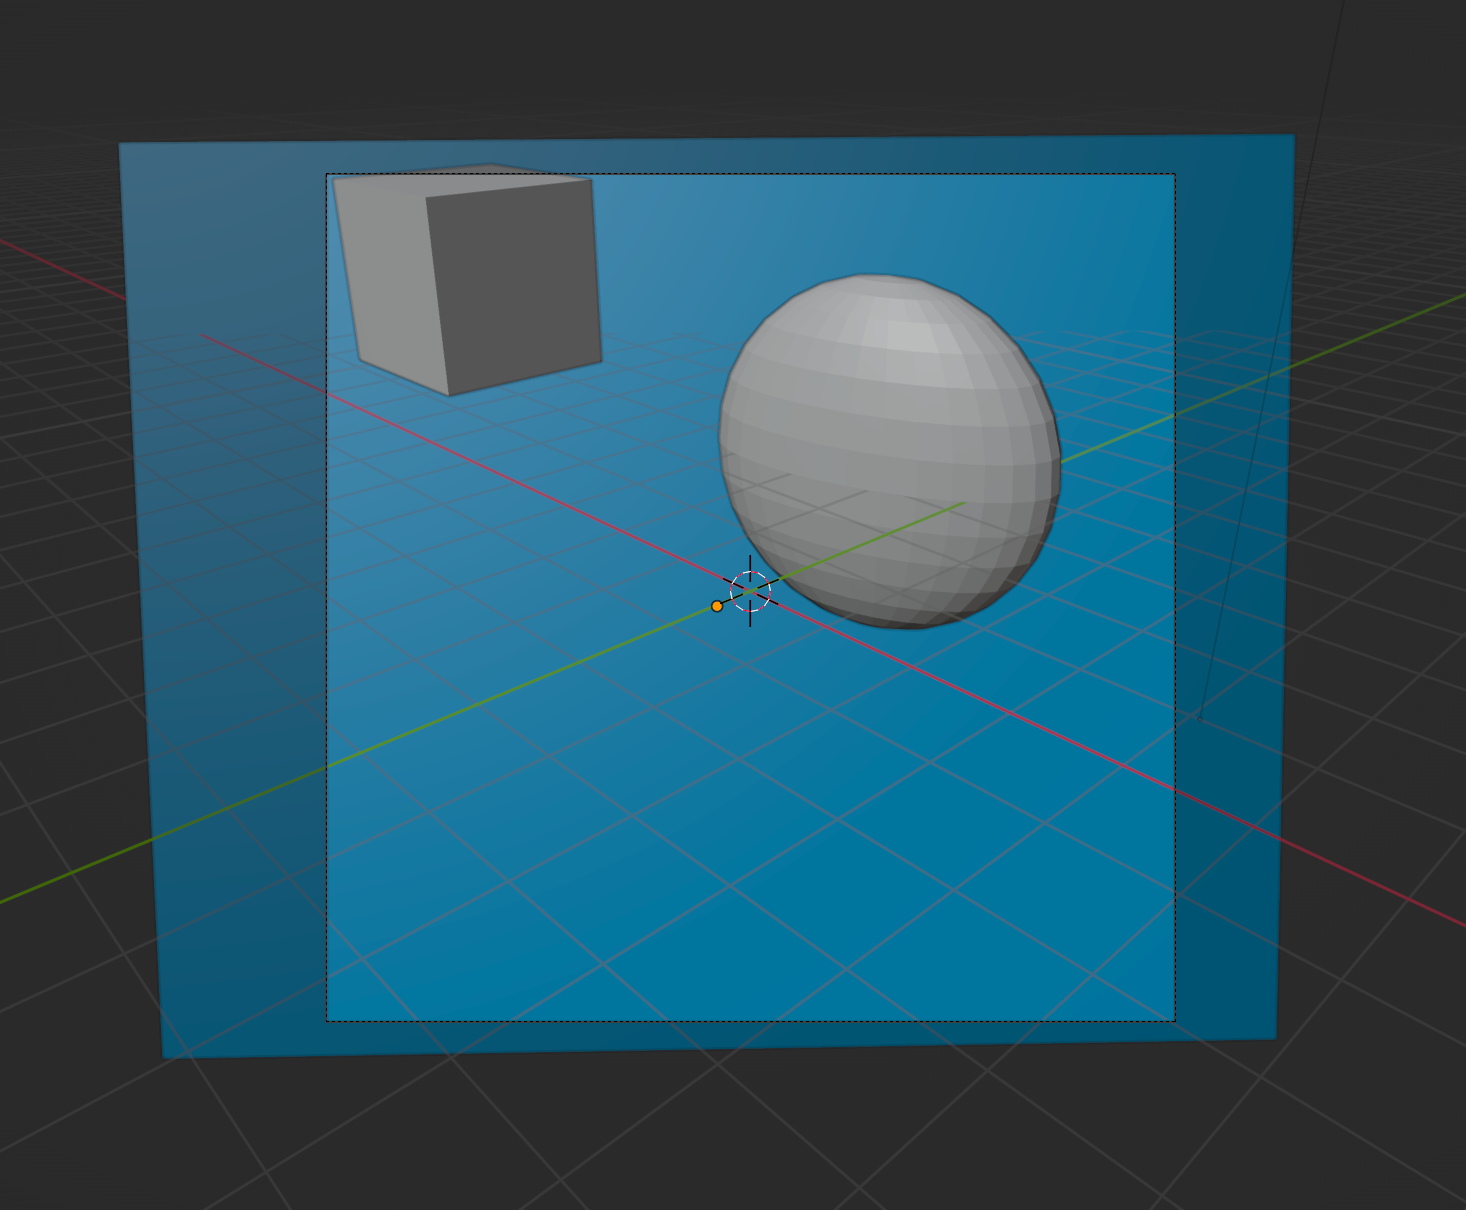
首先打開 Blender 隨便加幾個物件及加點顏色並確保在鏡頭內見到。
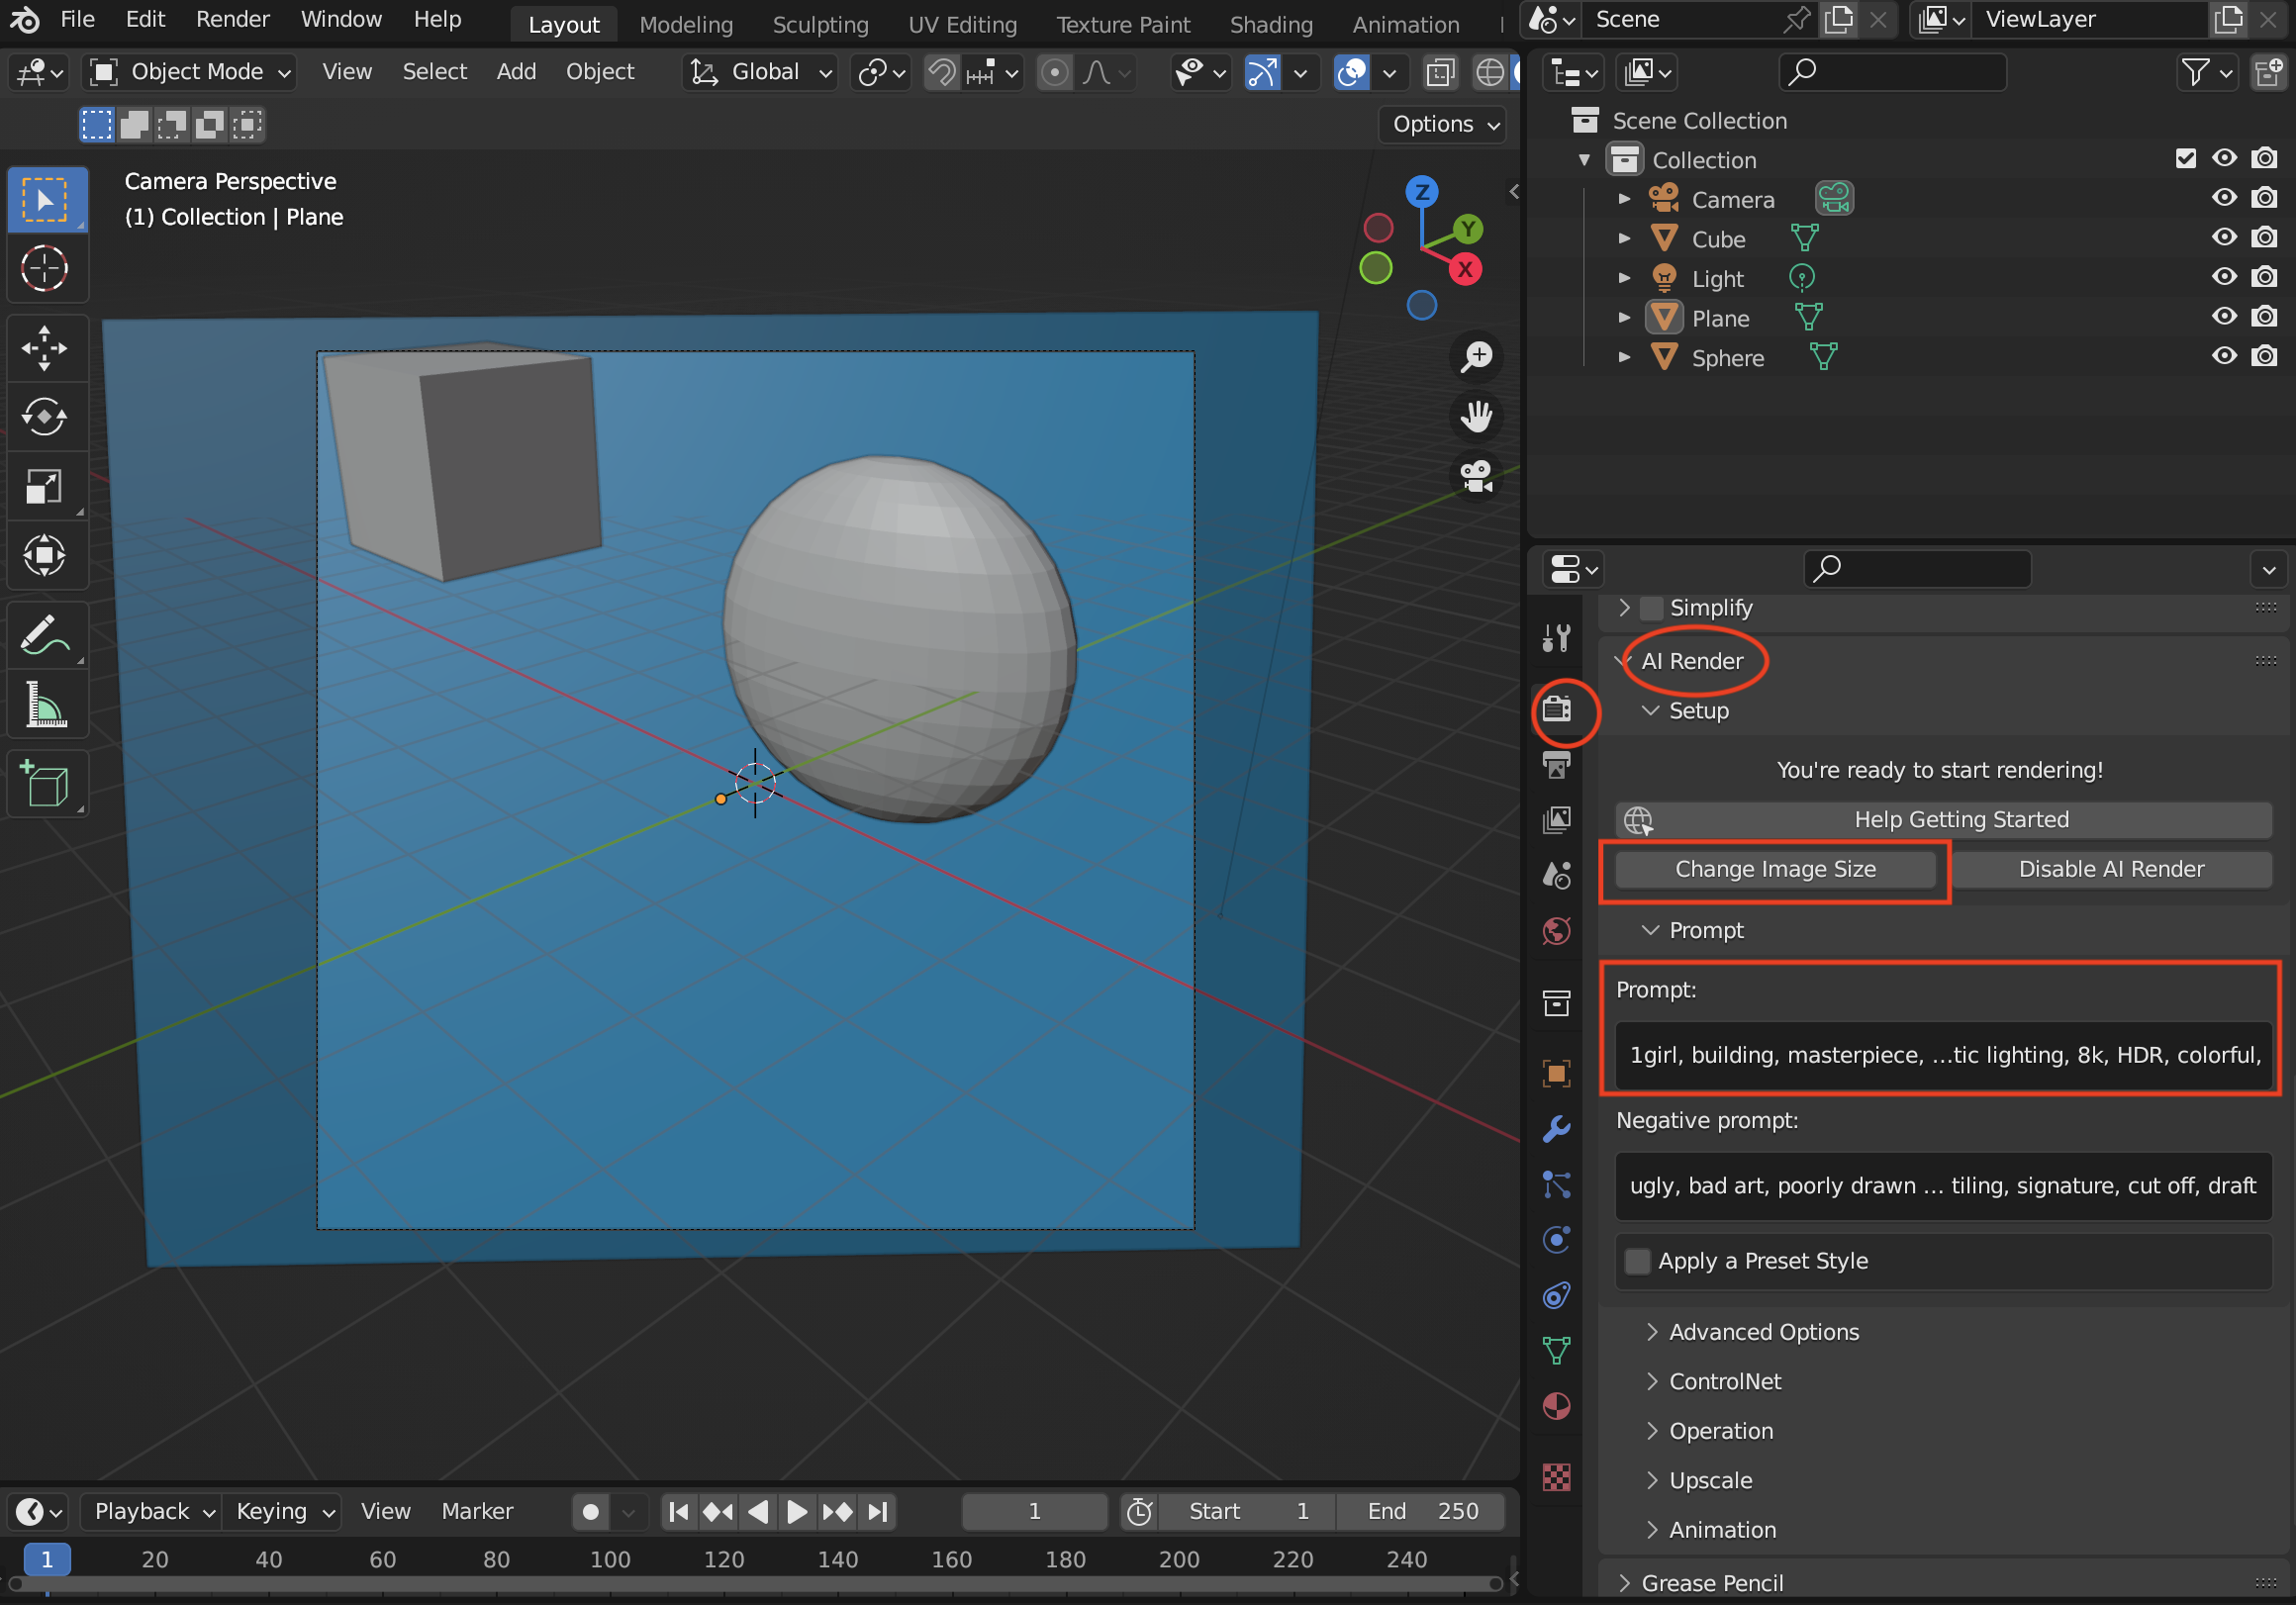
在 Render Properties 頁面可以找到 AI Render,我把 Image Size 改成 768 x 768 , Prompt 加入一些簡單 prompts 1girl, building, masterpiece, best quality, high resolution, intricate details, cinematic lighting, 8k, HDR, colorful , Negative prompt 中預設有些 prompts 我就不改了。
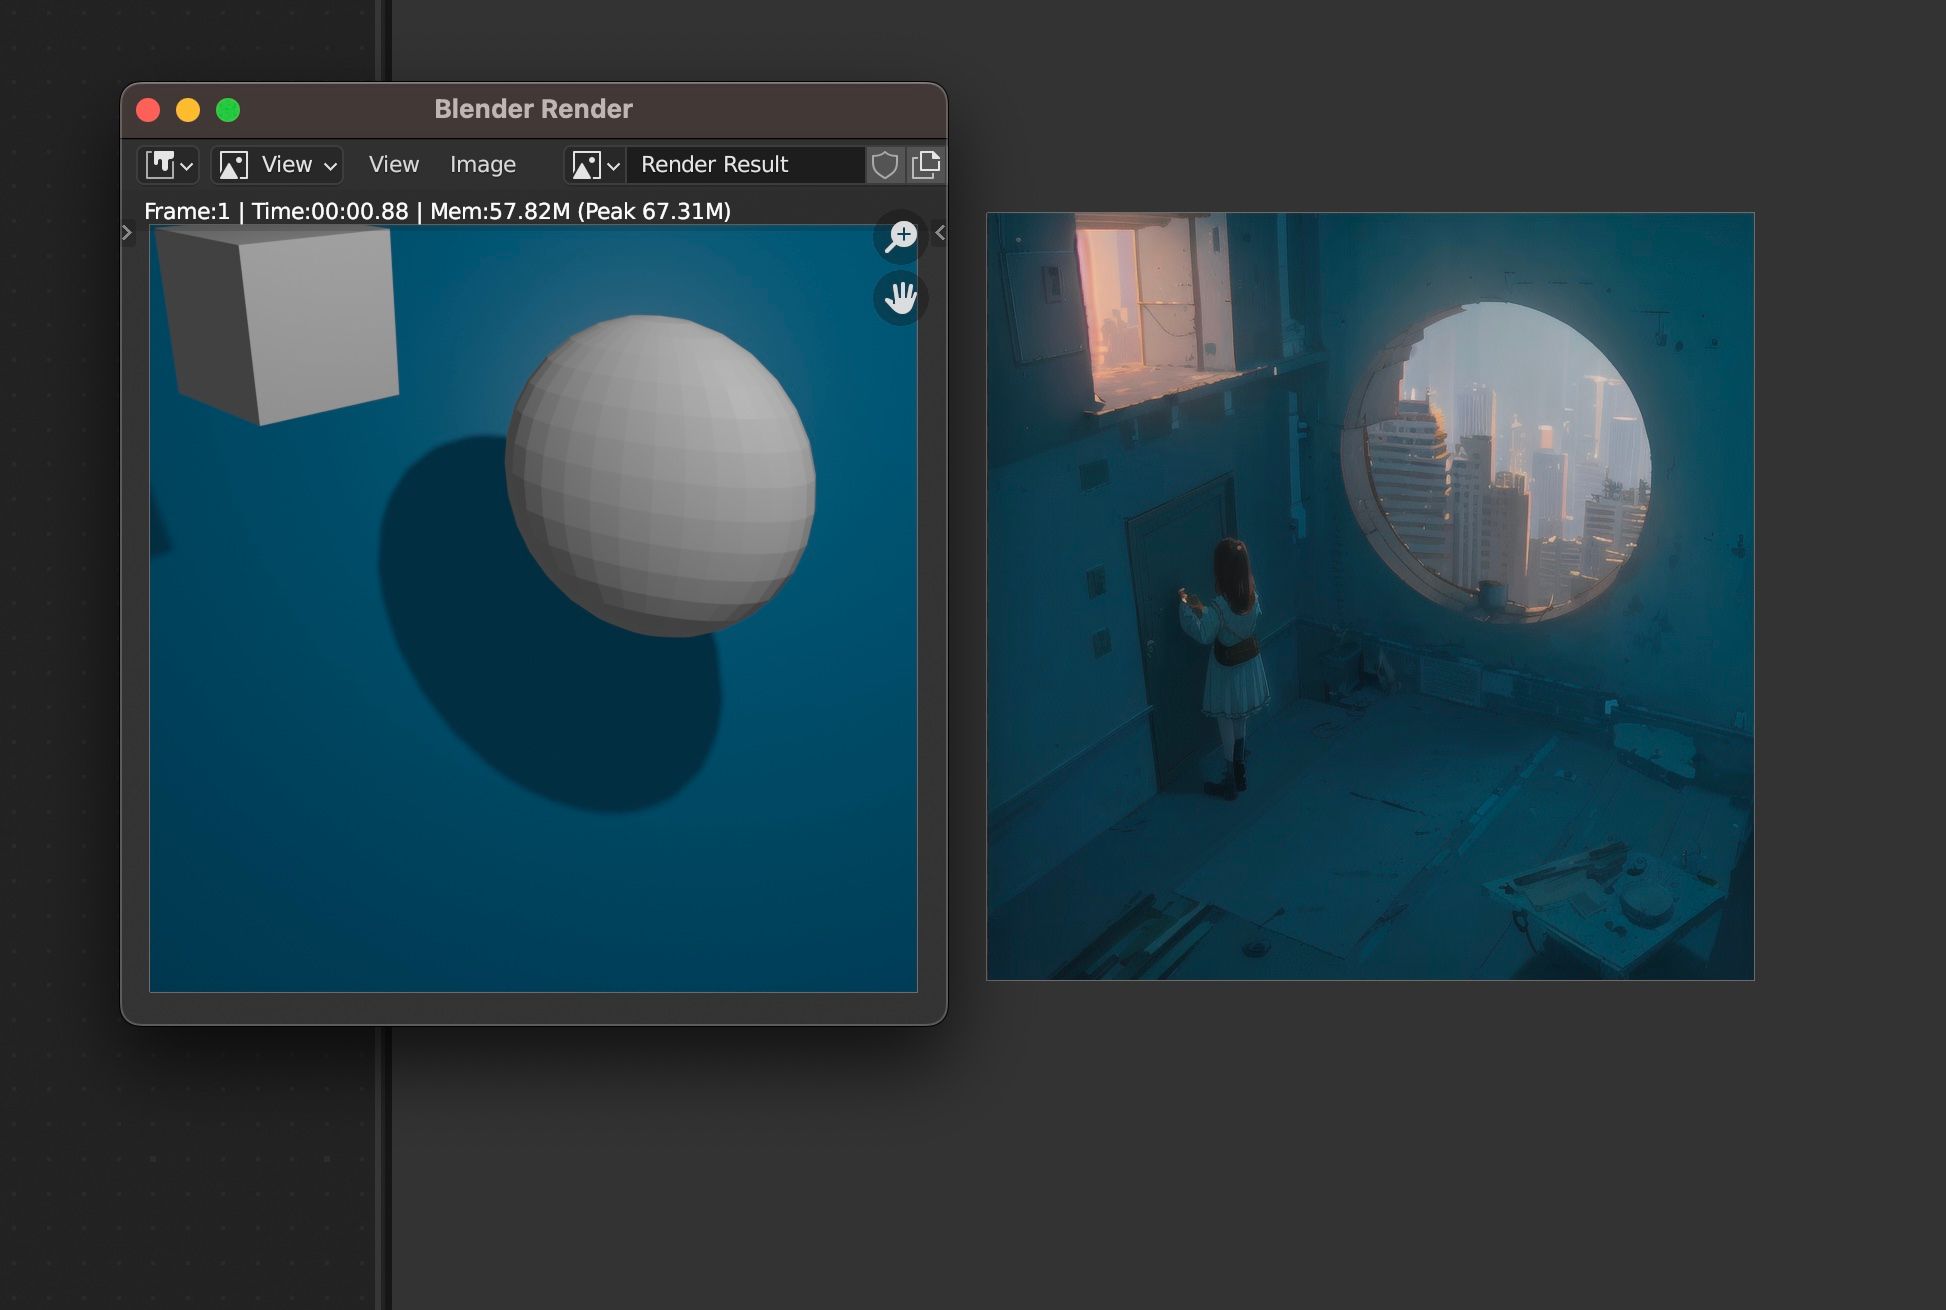
一切準備好了就可以按 F12 開始 render,Blender Render 完成 rendering 後 Stable Diffusion 也會馬上開始運作,然後在 AI Render 的 Tab 中顯示,由於在 Blender 內沒有 Stable Diffusion 的進度,所以沒完成前不要關閉 Blender。
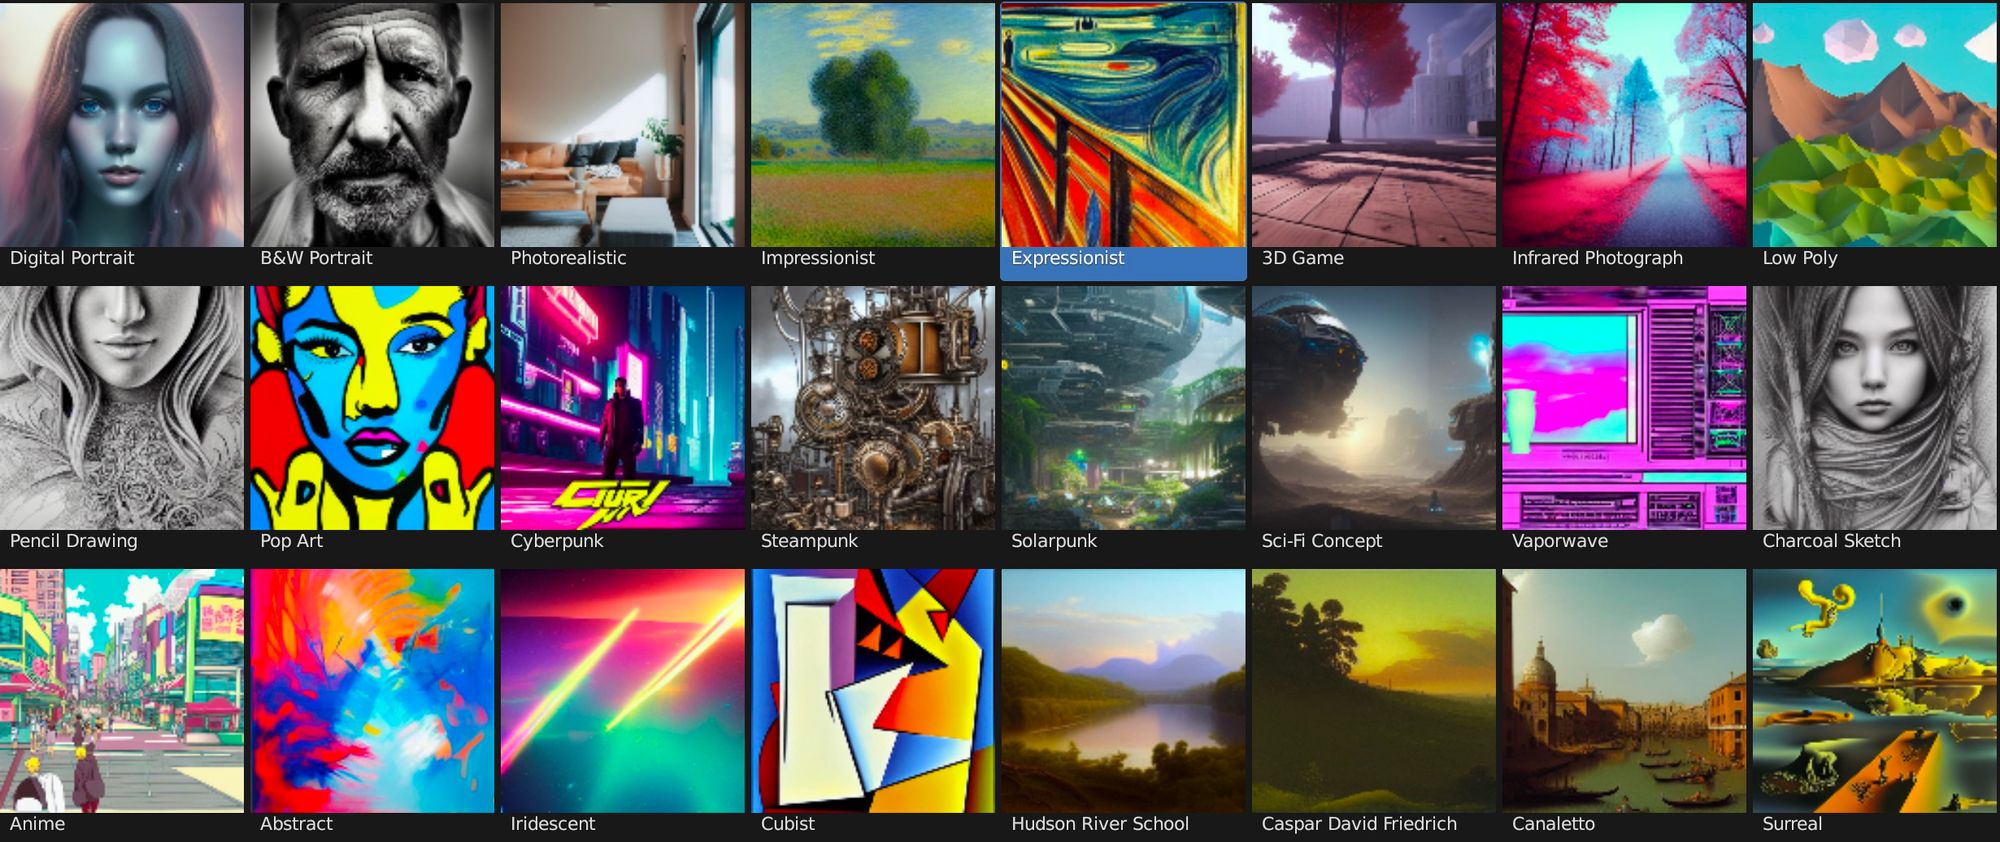
在 AI Render 也預設了不少風格,大家可以在 Blender 中直接選取風格。
總結
AI Render 的功能遠比官方的插件強大,甚至支援 ControlNet 等強大功能,雖然也可以在 Blender 輸出圖片給 Stable Diffusion Img2Img,但直接將 Stable Diffusion 當成 Blender 的 Render 來用也有不錯的體會,相信對很多有用 Blender 的用家有很大的幫助。