StableDiffusionWebUI 怎樣在本機運行 SDXL ?
SDXL 是 Stable Diffusion 最新推出的大模型,其訓練圖片用上了 1024 x 1024 的圖片,解像度比 SD 1.5 時大了足足一整倍,訓練數據也增加了3倍,加上更多細節上的調整,令 SDXL 生成的圖像比原生的 SD 1.5 / 2.1 效果大大提升。


SDXL 是 Stable Diffusion 最新推出的大模型,其訓練圖片用上了 1024 x 1024 的圖片,解像度比 SD 1.5 時大了足足一整倍,訓練數據也增加了3倍,加上更多細節上的調整,令 SDXL 生成的圖像比原生的 SD 1.5 / 2.1 效果大大提升。
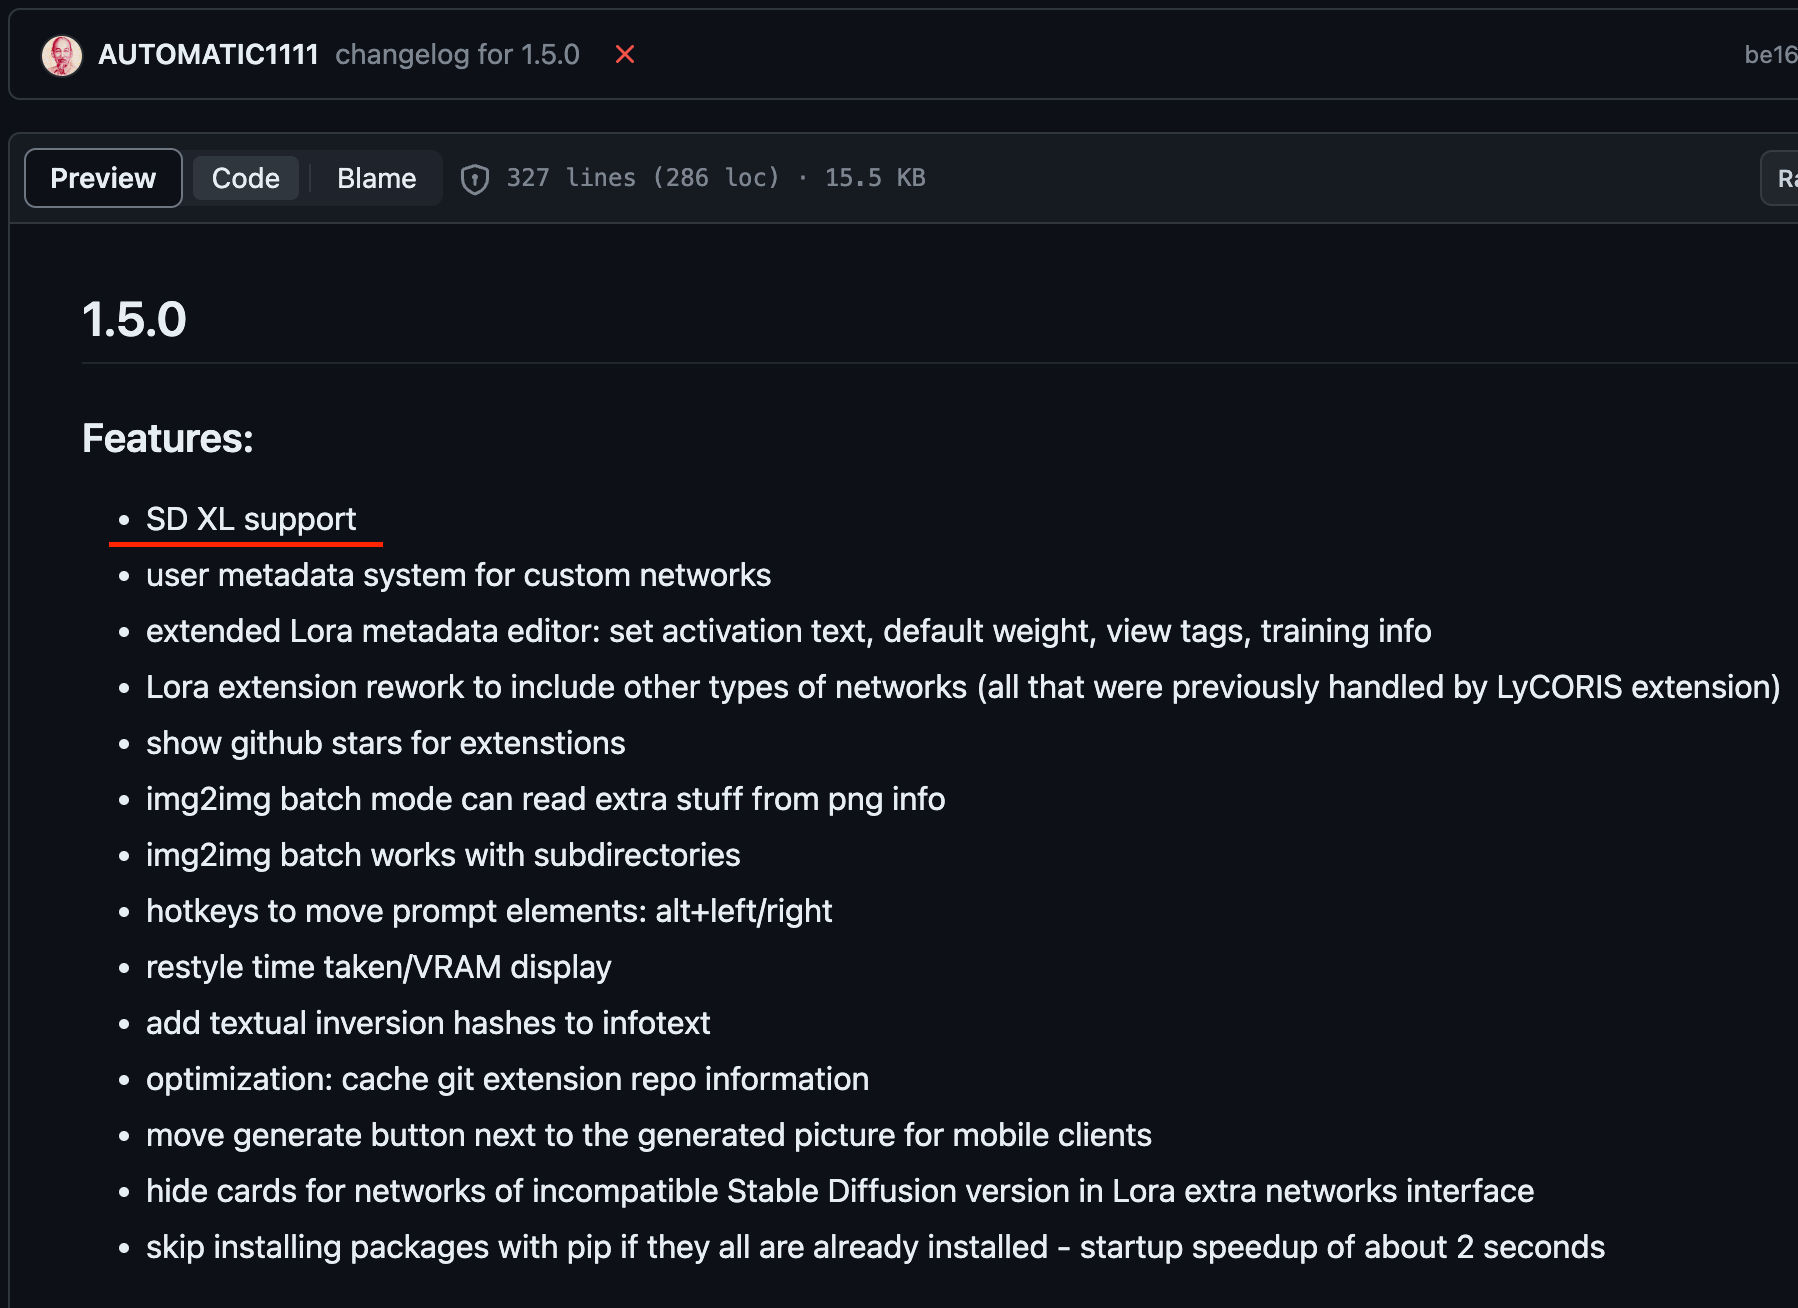
雖然 ComfyUI 早早就支援了 SDXL 的 Model。而 StableDiffusionWebUI 遲遲未正式支援,其實稍早時釋出的 StableDiffusionWebUI 1.5 RC 已經可以直接使用 SDXL。
在截稿為止 StableDiffusionWebUI 最新版還是 1.4.1 , 1.5.0 還是 RC 版,所以而要人手操作去變更版本。
將 StableDiffusionWebUI 轉換成 1.5 版本
如果 StableDiffusionWebUI 是使用 git 安裝的話,可以跳過安裝程序,如果是使用其他方法的話請參考這篇重新安裝:
 Edmond Yip
首先在你的 StableDiffusionWebUI 目錄打開 Terminal,輸入以下指令去取得版本資訊:
git pull
git fetch --all --tags
然後轉成 v1.5.0-RC
git checkout tags/v.1.5.0-RC
git pull
看看 CHANGELOG.md 入面第一句寫著 ## 1.5.0 就是成功轉成 1.5.0 了!
下載 SDXL 0.9
雖然 SDXL 1.0 已經進入公測,但是還沒有公開下載,所以這裡先用 SDXL 0.9 進行示範。
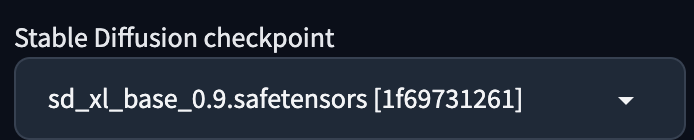
sdxl base 0.9 是用作 txt2img 的 Model, file name 是 sd_xl_base_0.9.safetensors ,容量為 13.9 GB 。
sdxl refiner 0.9 是用作 img2img 的 Model, file name 是 sd_xl_refiner_0.9.safetensors ,容量為 6.08 GB。
第一次進入此頁面會進入一頁 Researcher Early Access,要求提供一些個人資料及同意使用條款才能進入下載,但是隨便填一些資料也可以下載,大家可以自己決定是否提供真實個人資料。
下載後放到 Checkpoint Model 資料夾 /Users/YourName/Documents/StableDiffusion/models/Stable-diffusion
使用 SDXL 生成圖片
進入 Terminal 並在 StableDiffusionWebUI 目錄輸入 ./webui.sh 啟動 WebUI。在 Launch message 可以確定版本為 v1.5.0-RC 。

txt2img
在 WebUI txt2img 中選取 SDXL base 0.9 model。
由於常用的 extensions 如 controlnet/LoRA 並未支援 SDXL,所以我們今次先不會測試這些功能。Prompts 就使用之前教學的例子:
1 girl, masterpiece, best quality, high resolution, 8K , HDR, bloom, sun light, raytracing , detailed shadows, intricate tree shadow, bokeh, depth of field, film photography, film grain, glare, (wind:0.8), detailed hair, beautiful face, beautiful girl, ultra detailed eyes, cinematic lighting, (hyperdetailed:1.15), outdoors
及 Negative Prompts:
(worst quality:2.00), (low quality:2.00), (normal quality:2.00), low-res, easynegative
Edmond Yip
記得將長度及闊度都改成 SDXL 原生的 1024 x 1024 。

設定完成後開始生成圖片!
出來的圖片比原生 SD 1.5 的好上不少,雖然沒有 LoRA,就試試看加上一些 style 的 prompts。
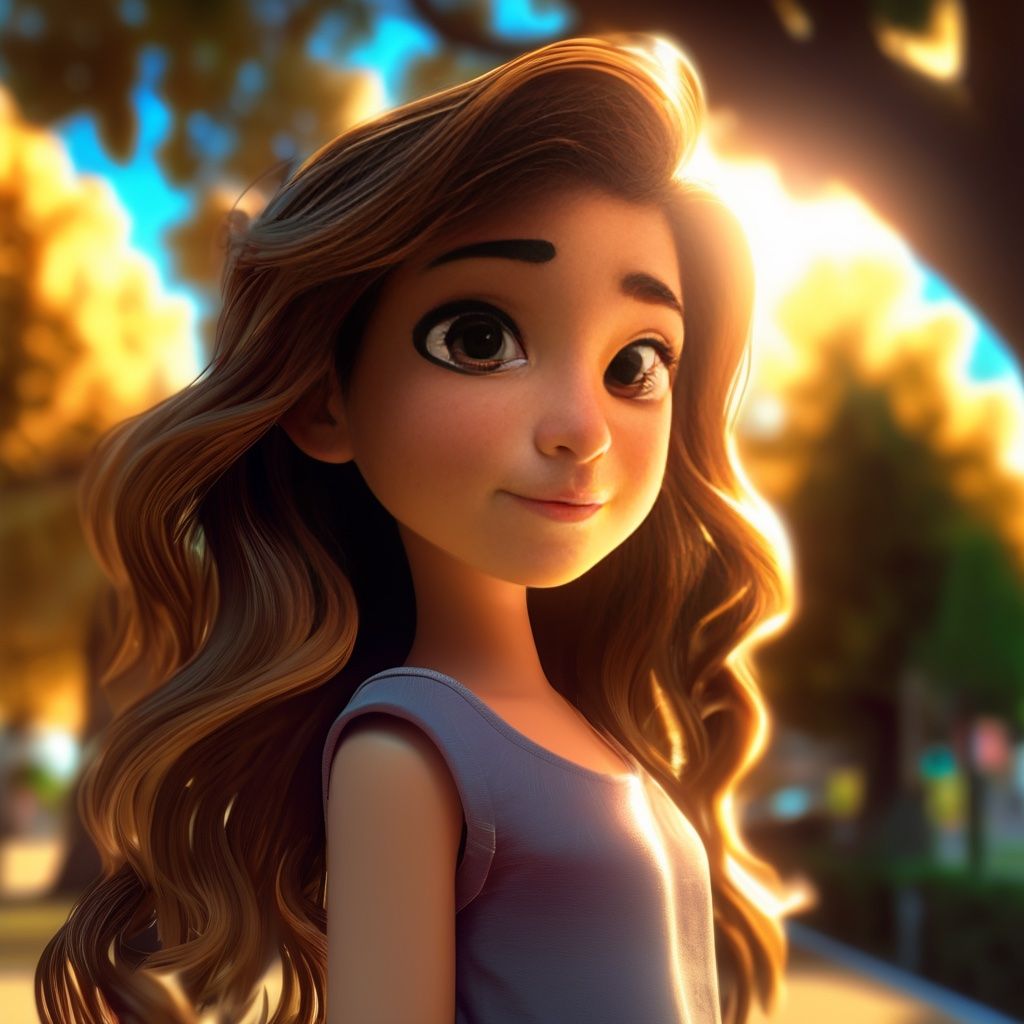
Cartoon Style
在 prompts 加入 cartoon style 後生成圖片,不用任何 LoRA 就變成 pixel 風格的 3D 畫風!
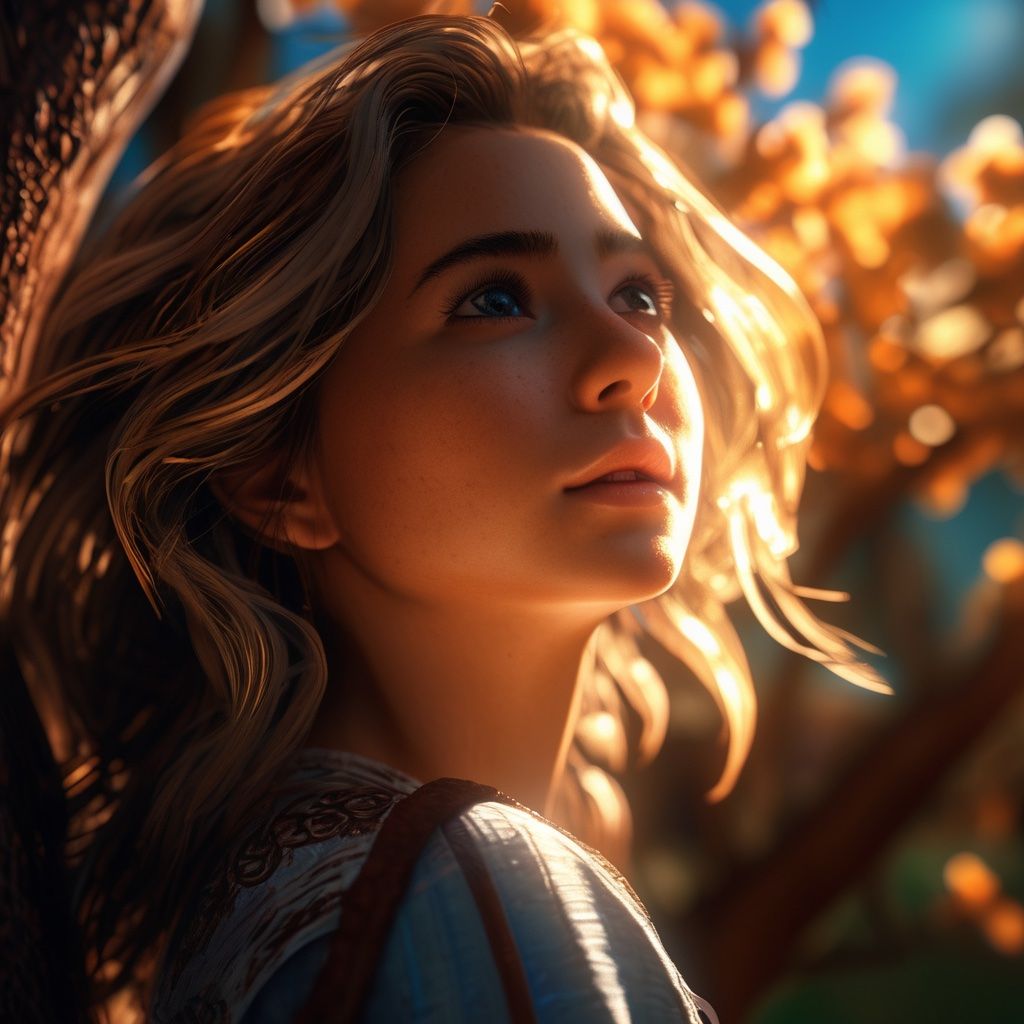
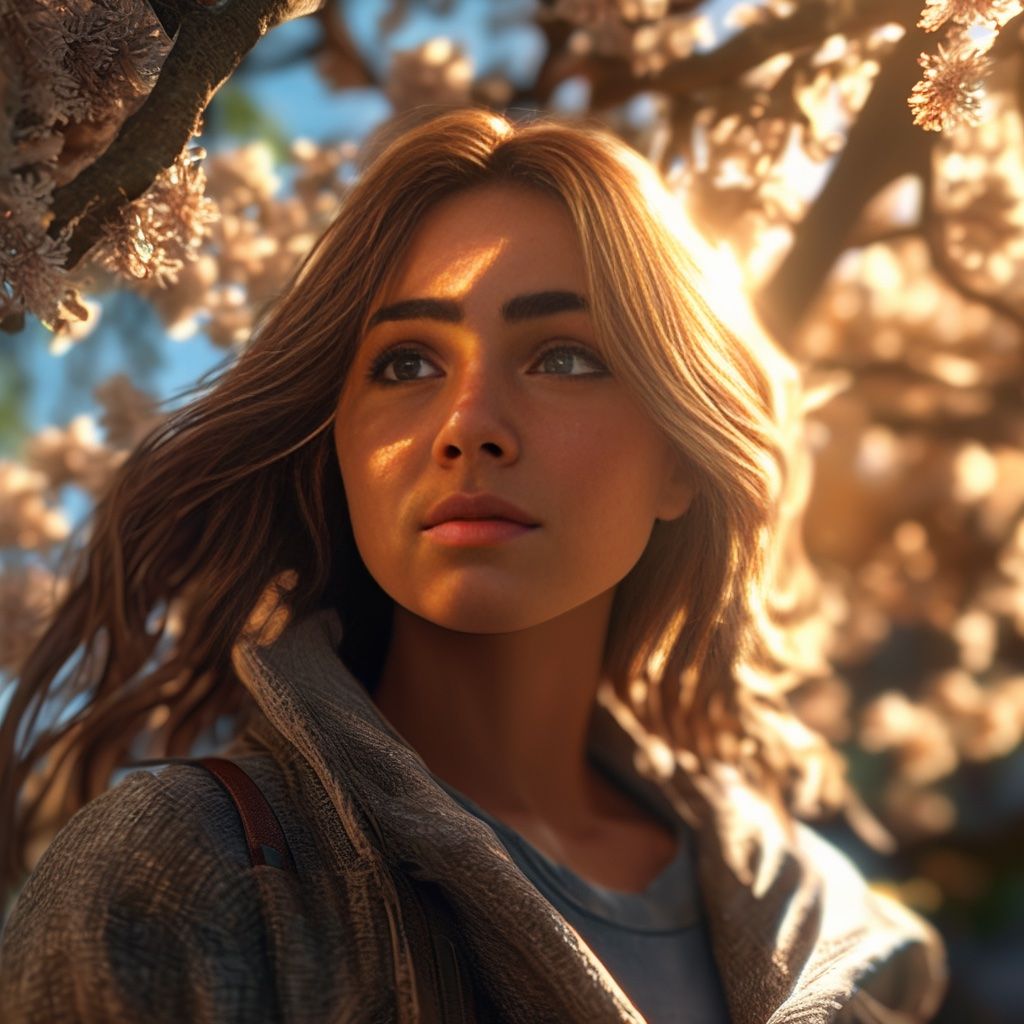
Realistic Photo
將 prompts 換成 realistic photo 真實感即時提升了不少。
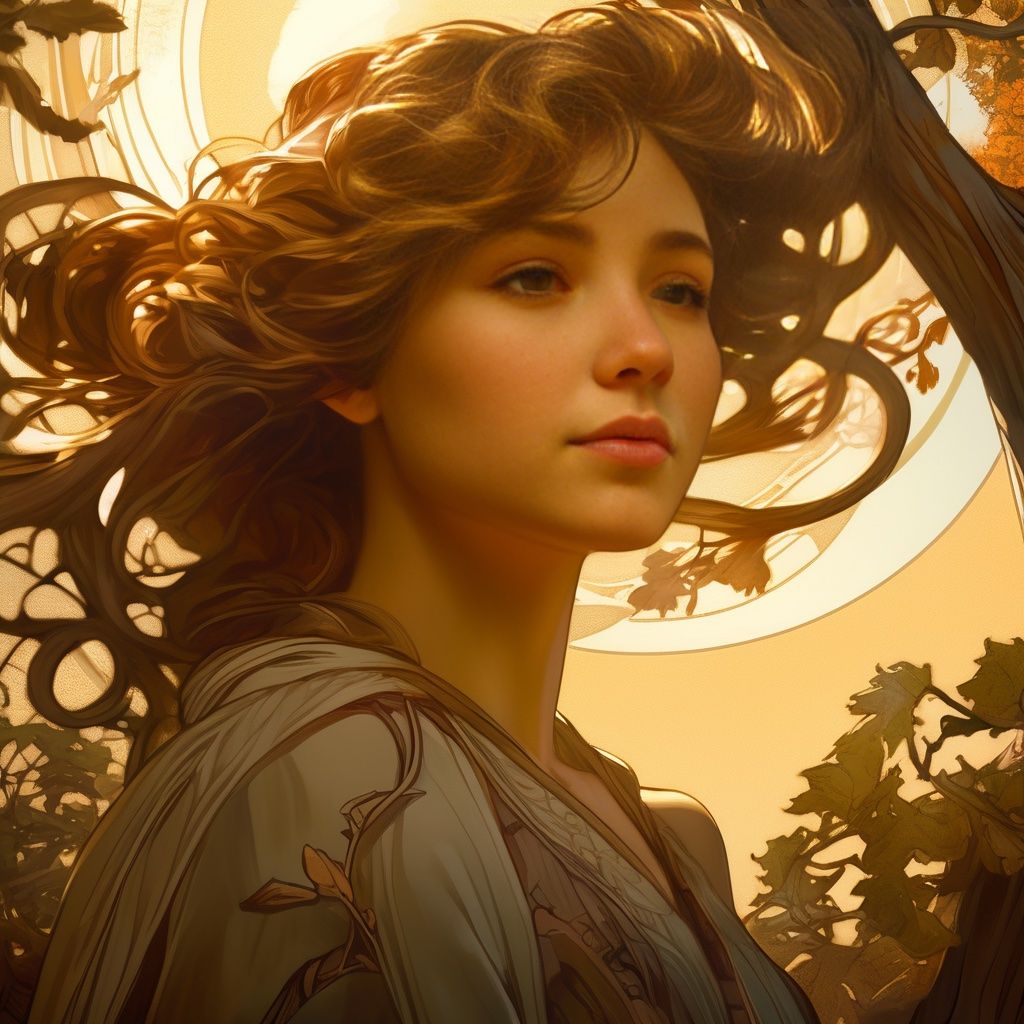
Art Nouveau
在 prompts 加入 art nouveau, 1girl by Alfonso Mucha ,馬上變成新藝術風格。
總結
在很多公開測試中都証實 SDXL 的生成能力及畫質都大升,而且在模型的細節及對 prompts 的支援都大幅提升,而且這只是原生 model,在坊間訓練的 Model 出來後肯定會有更多驚喜!