自動修復面部的 Stable Diffusion Extension - Face Editor
每次生成人臉比較細的圖片時,因為臉部佔畫面比例太少,Stable Diffusion 不會太仔細去繪制面部,所以臉部有很大的機率會崩壞。即使事後進行 inpaint 修復也花時間及工序,費時失事。 現在有了 Face Editor 這個 extension 就可以節省很多修復的時間,這個 extension 可以幫你尋找畫面中的人臉並進行修復。

每次生成人臉比較細的圖片時,因為臉部佔畫面比例太少,Stable Diffusion 不會太仔細去繪制面部,所以臉部有很大的機率會崩壞。即使事後進行 inpaint 修復也花時間及工序,費時失事。 現在有了 Face Editor 這個 extension 就可以節省很多修復的時間,這個 extension 可以幫你尋找畫面中的人臉並進行修復。
跟 Restore faces 有點不同,因為臉太小的話即使有 Restore faces 還是修復不了的,而 Face Editor 可以進行更仔細的設定以及高清修復。
Face Editor 原理
Face Editor 首先會利用 face detection 的方法偵測面部位置,再進行 inpaint 重繪,由於重繪部份不多,所以所花時間不多,但出來的效果就好很多了。
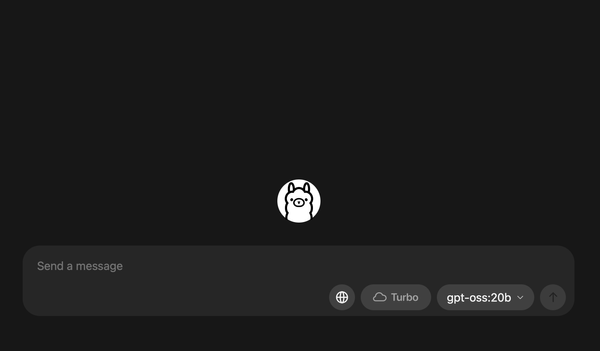
安裝 Face Editor
 ototadana
- 在 Extensions > Install from URL > URL for extension's git repository 輸入網址
https://github.com/ototadana/sd-face-editor - Install 後 Apply and restart UI
使用方法
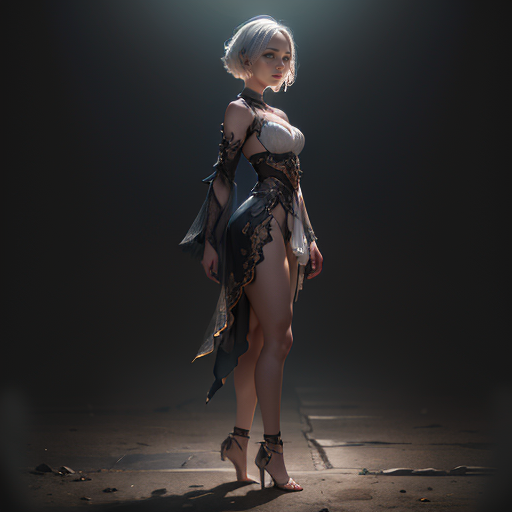
安裝完成後,在 txt2img 及 img2img 左下也會新增一個 Face Editor。首先生成一張全身的圖片 1girl, white short hair, beautiful face, detailed eyes, (masterpiece, best quality, high resolution, intricate details, cinematic lighting, 8k, HDR), looking at viewer, (full body:1.5) ,再開啟 Face Editor 下使用相同 prompts 相同 seed 生成一張圖片比較,Face Editor 直接使用預設設定 Affected areas 只需面部就可以了。


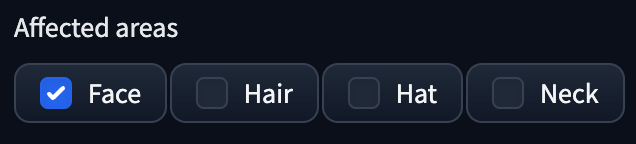
影響範圍
在 Affected areas 中可以設定影響範圍,頭髮 / 帽子 / 頸部也可以包括在重繪範圍,重繪後細節會有些微改善。

留意耳仔本來怪怪的部份重繪頭髮後正常了,頸部的線條及光影都更配合環境。
重繪面部 Prompts
在重繪畫部同時可以加入新的 prompts,試試看加入 smile 有什麼效果。
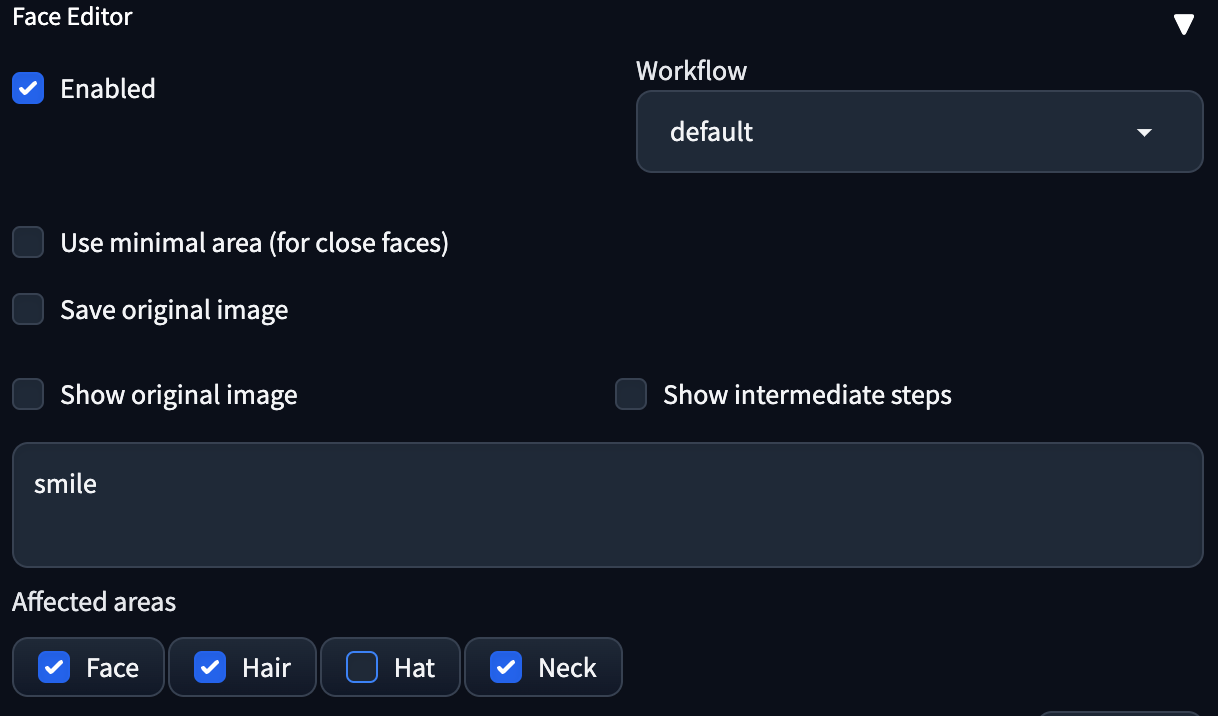
smile
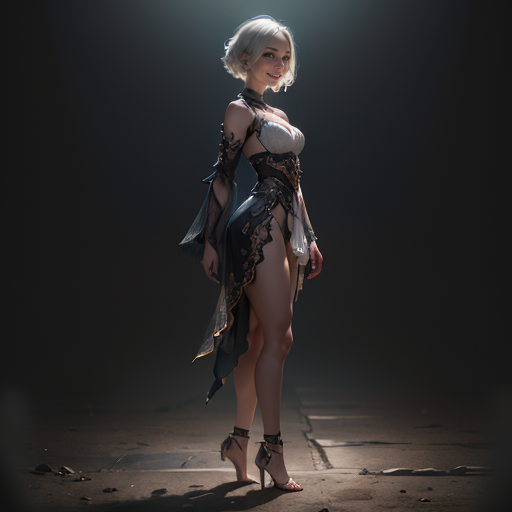
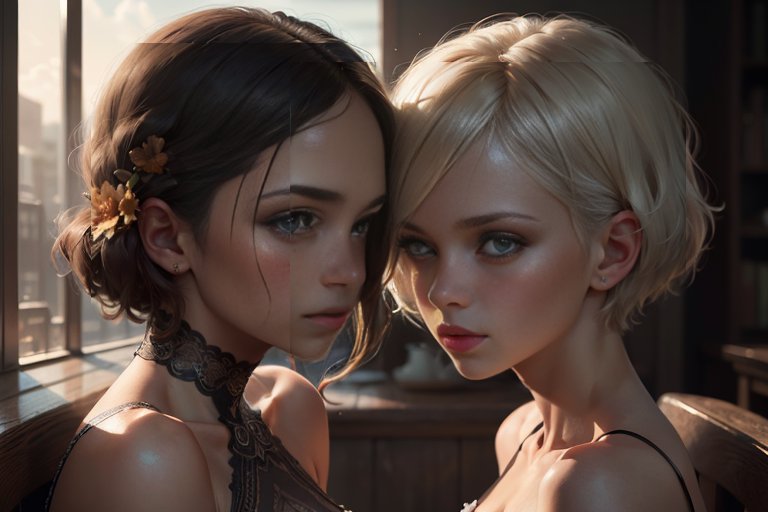
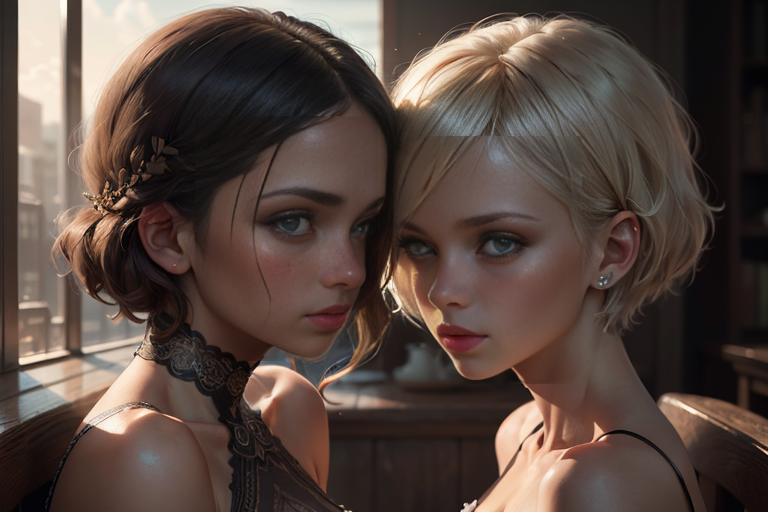
多人面部修復
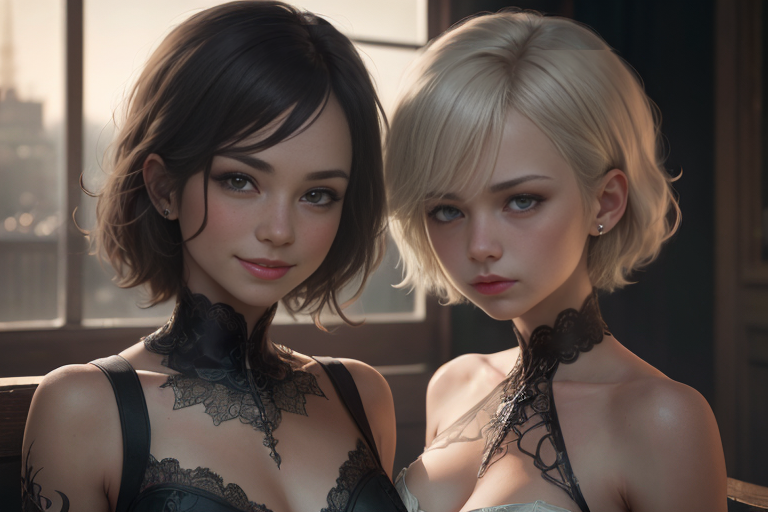
在畫面有超過一個人也會自動偵測面部進行修復。不需額外設定,但每張臉都會重繪一次,臉越多重繪次數越多。
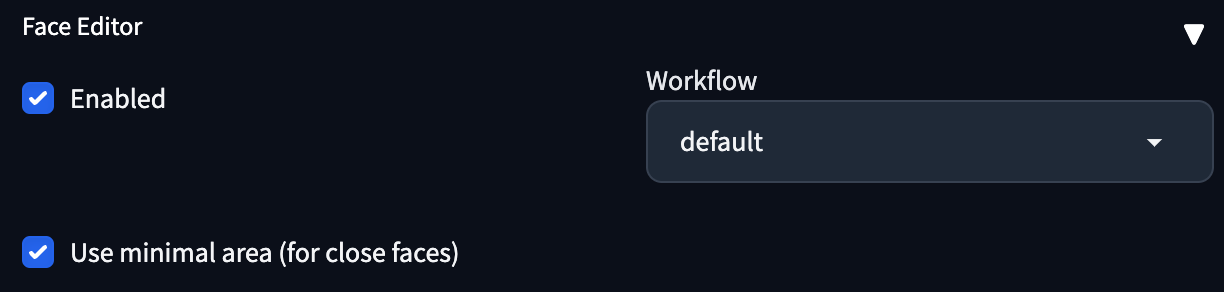
多人面部太接近時,有時會有重繪部份互相覆蓋的情況,這時要選取 Use minimal area (for close faces) ,就能解決這問題。
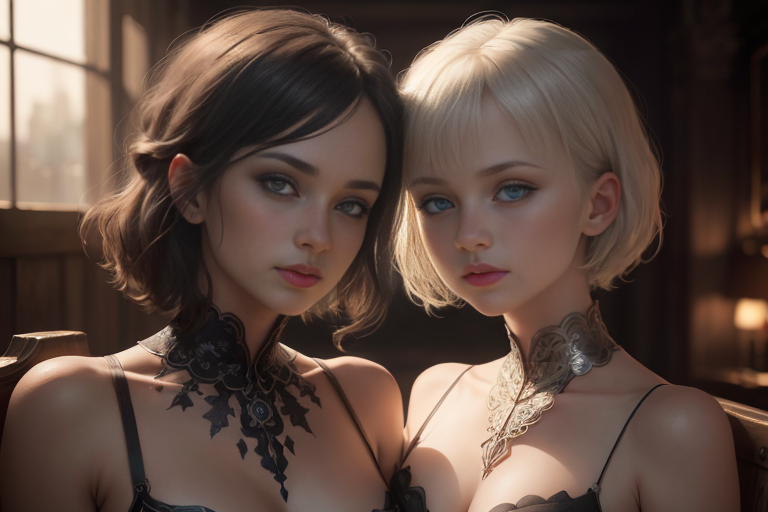
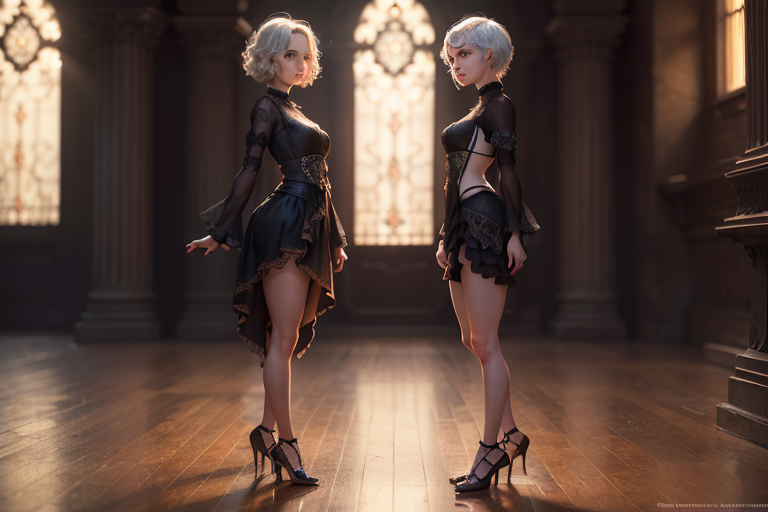
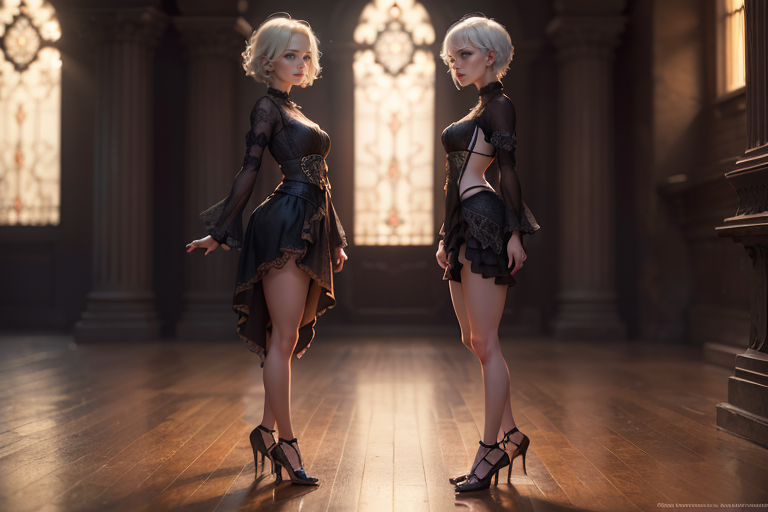
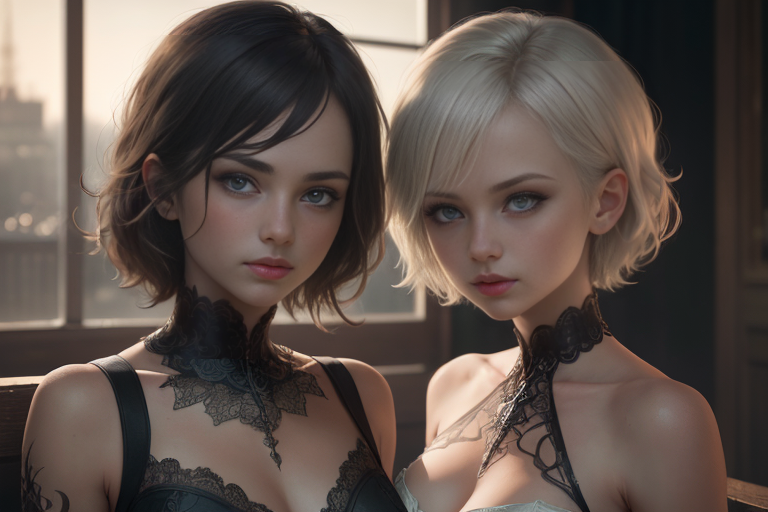
多人重繪 Prompts
當多人需要加入 prompts 時,可以根據人物位置由左至右用 || 隔開 prompts,試加入 smile || sad 看看兩個不同表情的變化。

總結
一個相當實用的 extension ,特別是生成全身人像時我會長開此 extension,可以節省大量 inpaint 修復的時間,強烈建議使用。